How to Replace a Thermostat That’s Losing You Money
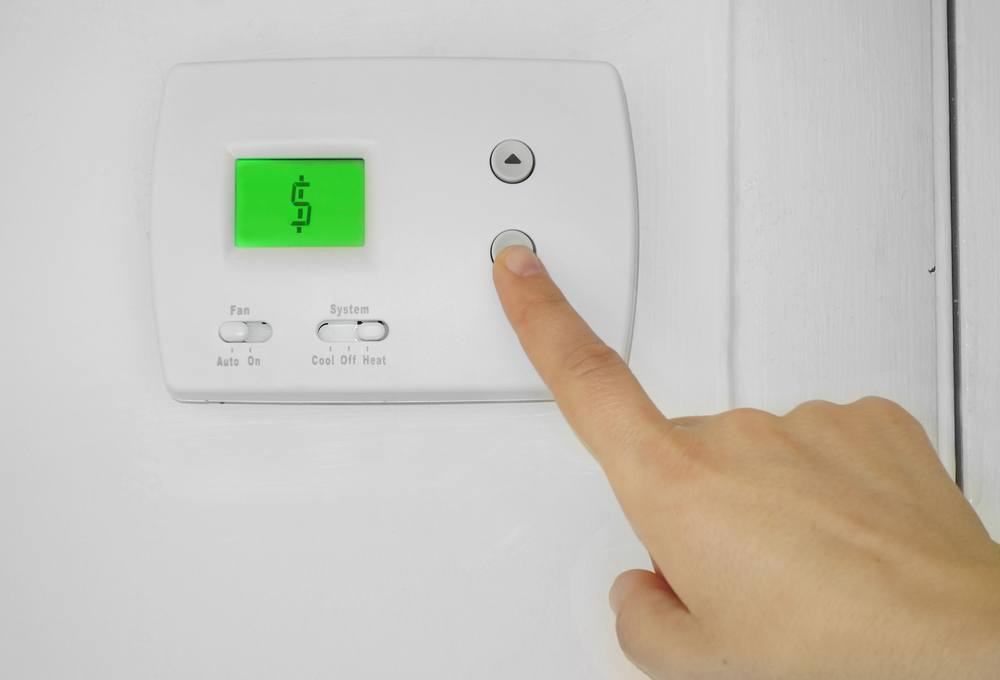
Why should you learn how to replace a thermostat? New thermostats can help you cut down your energy bill every month, with the EPA suggesting proper settings can reduce energy bills by as much as 15%! Newer models also make it easier to automatically program comfortable temperatures in the home. Learning how to replace a thermostat is one of the easiest and quickest projects to tackle on your own in the home. Get started with these easy steps:
Step 1: Check the compatibility.
Although many common thermostats work well with any type of heating and cooling system, some of the more advanced thermostats are only compatible with certain types. Be sure to read the packaging of your replacement thermostat to determine if you found one that will work in your home. These are some of the common types you may find:
- “Works with direct line voltage”: this type is typically found in older homes which use 110 or 240 direct current sources of power.
- “Works with stage 1”: This is used when you have separate heating and cooling systems.
- “Works with stage 2 or multi-stage”: Designed for heating and cooling systems with set low speeds
Step 2: Turn off the power.
Go to the power panel or circuit breaker in your home and turn off the power source for your thermostat. To prevent someone else in your home from flipping it back on while you’re working, put a piece of masking tape over the switch. Turning off the power prevents electrical injuries from occurring during the replacement process.
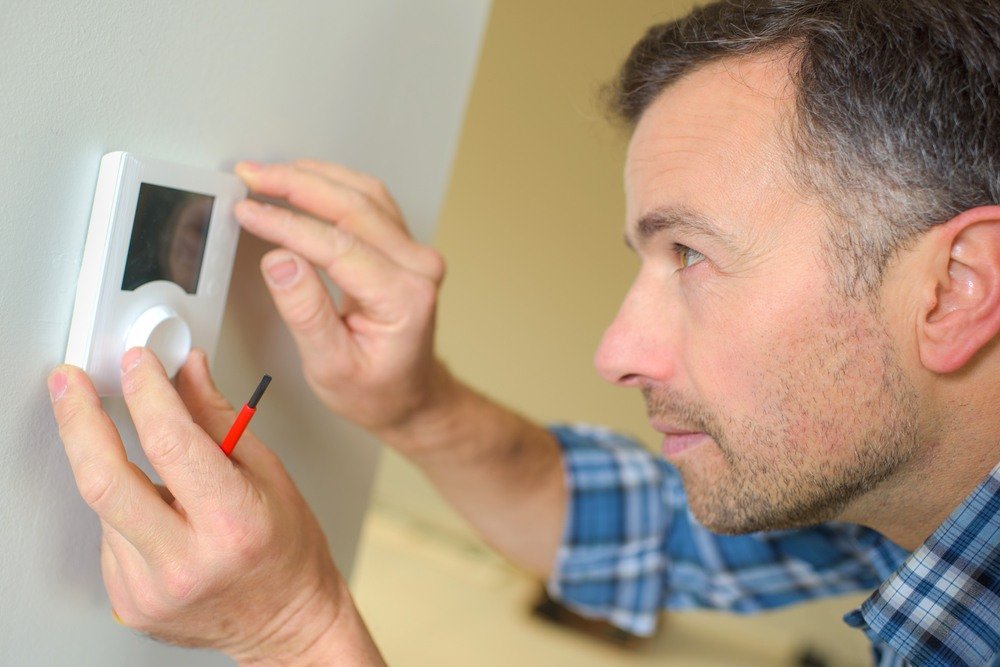
Step 3: Remove the old unit.
Depending on the unit, you will have to either snap the cover off or unscrew it to remove the old unit. Once the cover is off, carefully slide the unit off the mounting plate. There may be a wall plate covering the wires, and if so, remove this plate by unscrewing the screws. Wires should be exposed when you complete this step.
Step 4: Disconnect wiring (and pay attention!)
As you remove the old unit, pay attention to how the wires are connected to the old thermostat, which will make the process of putting the new thermostat on much easier. Label any wires that were disconnected, so you don’t go crazy trying to figure out where they go on the new thermostat. For the useful wires, put a piece of tape on each wire and label where each goes. Or snap a picture before removing all of the wires.
Step 5: Attach the new mounting plate.
Once the wires are disconnected, you’ve almost mastered how to replace a thermostat! Place the plate against the wall and pull the hanging wires through the plate. Screw the plate into the wall and make sure it is hanging level before you tighten the screws fully. Remember to check the packaging before you dig through your toolbox for screws since most thermostats will come with the necessary tools inside.
Step 6: Reconnect the wires.
Using the label system you created, match up the wires and reconnect the hanging wires to your new thermostat. Most models are designed so the wires just have to be twisted onto the connector, but check the manual on your unit to be sure.
Step 7: Mount the unit on the mounting plate.
Slide the new unit onto the mounting plate, making sure it is secure before letting go. Turn on the power and check to see if your thermostat is working properly. If you ever have any doubts about the way you connected the thermostat, you can always call an electrician!
Follow these seven steps and you’ve officially mastered how to replace a thermostat! All that’s left now is to read the manual of the specific unit you’ve purchased, and program the thermostat to a comfortable temperature.
